Hi there everyone! trust things are well with you today.
This is a tutorial I have done to share with you for Cardmaking Online.
Please (pretty please:D) do pop over to our blog and leave a comment on the post there - so that they know that you have been over (thanks so VERY much).
Even better join our humble blog. There are number of very talented crafters with diverse skills to whet your appetite and to inspire you!!

2.Cut lace Classic Rozette Die on white cardstock, and emboss with tan mat. Lift up cut strips to make spiral around the outside.
3.Mount teabag on top of this spiral with 1mm mounting tape.
3.Cut pink card from Papermania A4 pack Hendbury lane( a delicious pack of 24, some is tastefully glittery). Emboss with Trendy Braid folder and slightly distress surface to make pattern pop.
4. Add the embossed paper to white card add then the spiral lace die with the teabag on top. Attach lace from Kaisercraft white lace pack to the bottom of the card as shown above.

TIP: Use the pricking tool to handle the peel offs, lay it up the stem of the tool, this supports it while preparing to place on card stock..
5.Lift outline of flower out and colour the petals only on the waxed sheet from which peel offs come. Do same for the happy birthday greeting and bling - three clear ones as shown, stick them on the wax peel off (the spare part of sheet to colour also.)
4.Add greeting to top left of card; put the outline of flower underneath and then add the inside coloured petals.
5. Add the lovely Kaiser lace and coloured bling.
Another way to use the Lace die is to use it with double sided paper, or as I did in this piece here.

I inked this sample in pink and purple ink, then pasted with glue stick white paper to the back. I cut the die and embossed (highlighted raised edge while in die with chalk ink). The cut die was then woven for the lace edge around. I sprayed lightly with my favourite glimmer mist Diamond dust. I did not use it for this card though, as decided the plain white looked better.
Items used:
- Chinese Peony Folding paper,
- cArt-Us Trendy Braiding Embossing folder,
- Kaisercraft Lace Pack - White,
- Lace Die - Classic Rozette,
- Papermania A4 Pack - Hendbury Lane, Peels off Happy Birthday 300,
- Clear Bling embellishments; Joy 1mm Mounting tape;
- Double sided; tape; Pricking tool
- White cardstock, Red and blue permanent markers.
Shaz in Oz.x

9 comments:
Hi Shaz,
This is beautiful. Way above my talent level!! I've decided that I only make "simple" cards! And honestly, haven't made cards in a while. I'm hooked on ATCs!
Hugs,
Kay
This is just gorgeous and so very unique!! I'm going to try to make one:) Thanks so much for sharing.
Shaz
What a gorgeous card !!!! and inspiring to boot.
You have used 2 of my (many ) favorite techniques (tea bag and incire)and inspired me to use some that I have cut but have not put to use.
Myrna
Shaz
May I be so bold as to ask what size you made the card? (in inches if possible lol)
Thanks
Myrna
Beautiful! Great tutorial too. I hope you are keeping well! x
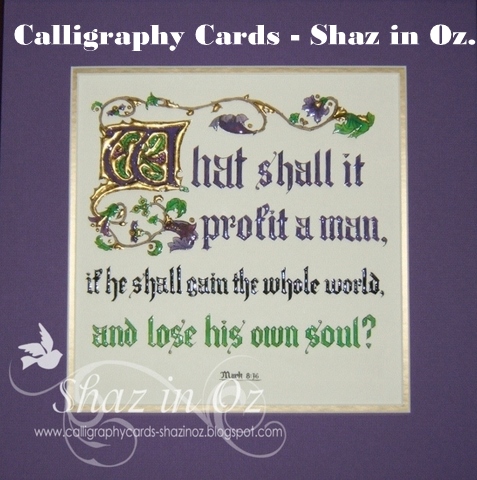
Oh girl this is way beyond my patience level altogether...lovely but all those folds and all those wee cut outs? Great work and love the scripture in the last post.
Gorgeous card, very clever indeed! xx
Shaz
Thank you so much for answering my question. I hate to be a pest but could you please tell me the diameter of the die you used. I looked it up but they don't give a size. The reason I ask is I have recreated something similar but it is huge and I cut it with the SCAL program and Cricut. I would like to make it smaller if possible so it would fit nicely on a 7x5 inch card.
I will be posting it on my blog later today when I can get a pic of it.
Thank you for your tutorials and your help.
Happy Easter.
Myrna
Shaz
Since I fell in love with this card and "stolen" your idea I wanted to tell you I posted it on my blog. Thank you.
Myrna
I would email you if I could find an email addy for you. :)
Post a Comment